
Blacktop Brilliance: The Insider’s Guide to Parking Lot Sealcoating That Lasts
Discover the secrets behind effective parking lot sealcoating. Learn why it matters, how it’s done, pro tips, common mistakes, and answers to your burning questions about keeping your asphalt looking sharp and lasting longer.
Introduction
Ever pulled into a parking lot and thought, “Wow, this place looks sharp!” Odds are, you’ve admired the results of a fresh parking lot sealcoating job. It’s more than a cosmetic touch-up—it’s a shield, a facelift, and a cost-saving strategy all rolled into one. Whether you own a small business, manage a shopping plaza, or just want your property to pop with curb appeal, proper sealcoating is the unsung hero you can’t afford to ignore.
But what really goes into parking lot sealcoating? Is it just slapping down some black goo and calling it a day? Not even close. Let’s roll up our sleeves and dig into the nitty-gritty—from what it is, why you need it, what to expect, and how to sidestep the pitfalls that trip up even seasoned pros.
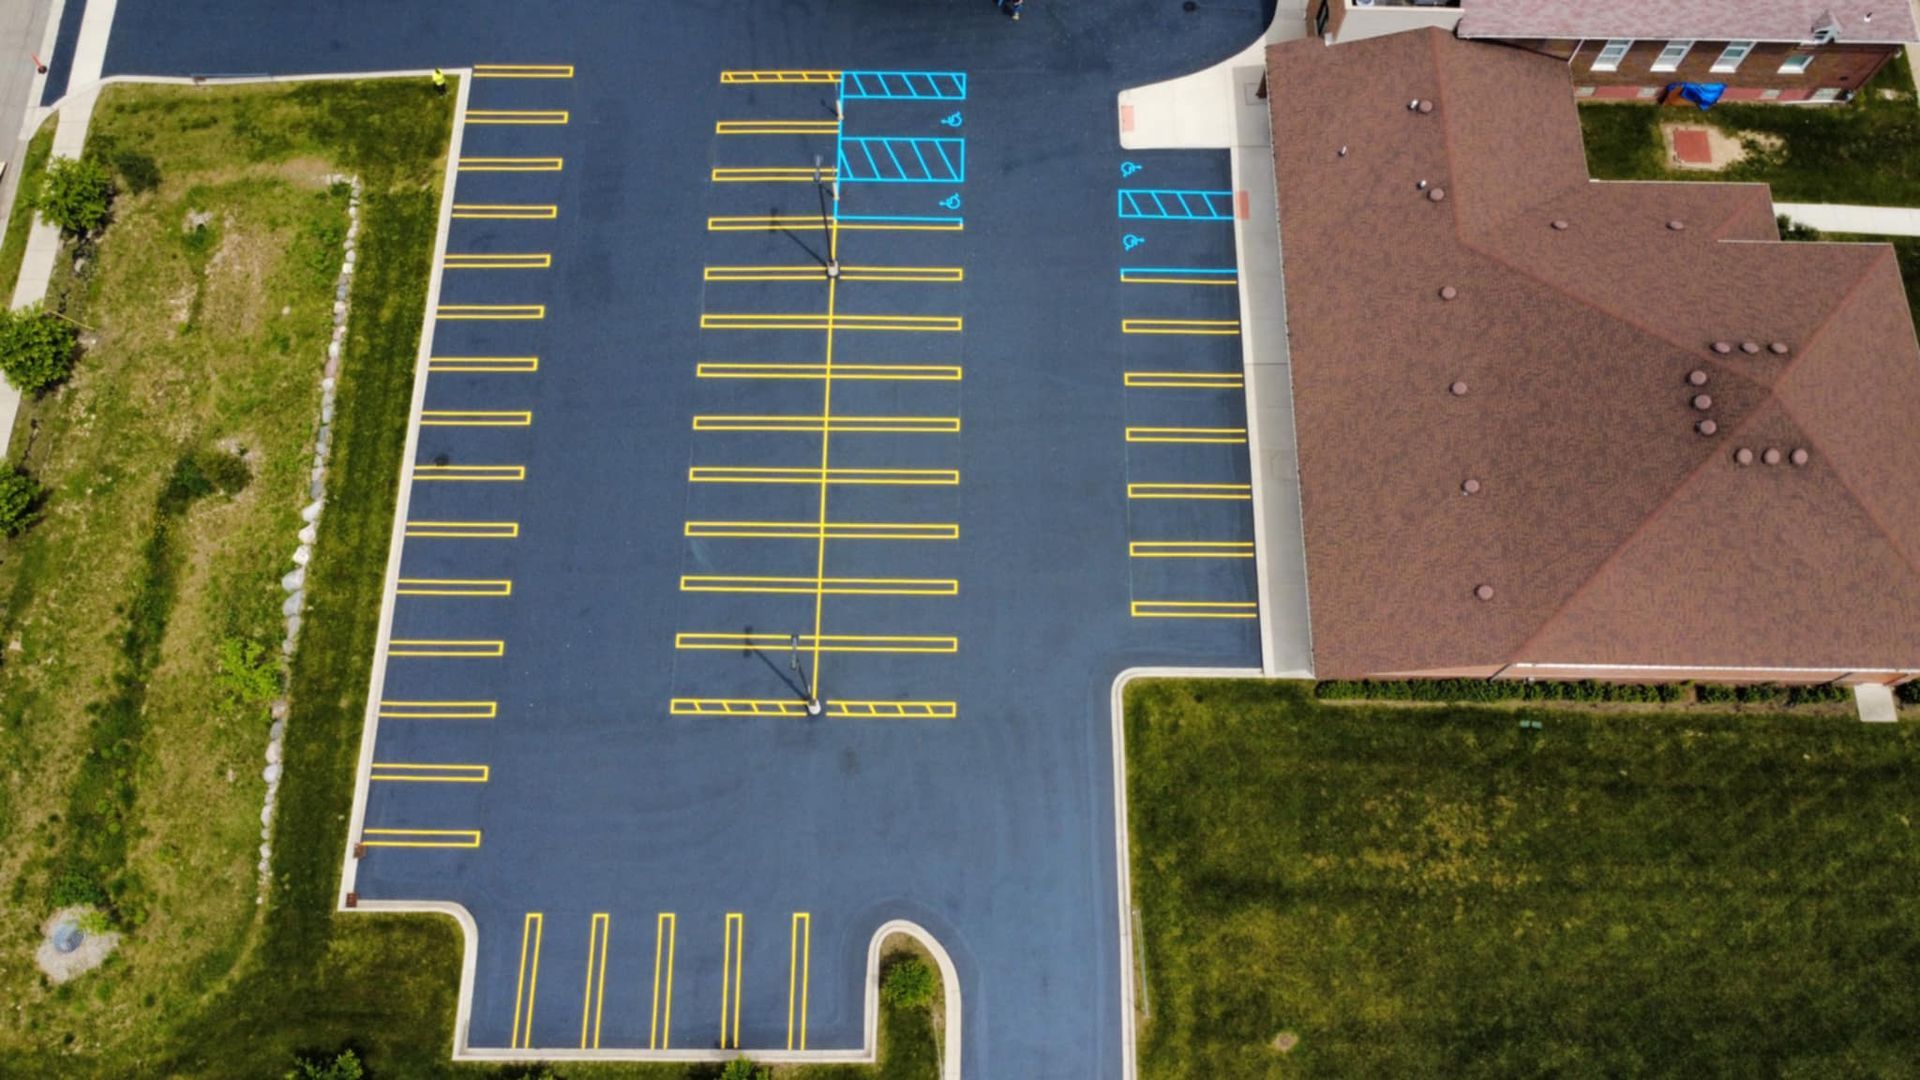
What Is Parking Lot Sealcoating, Really?
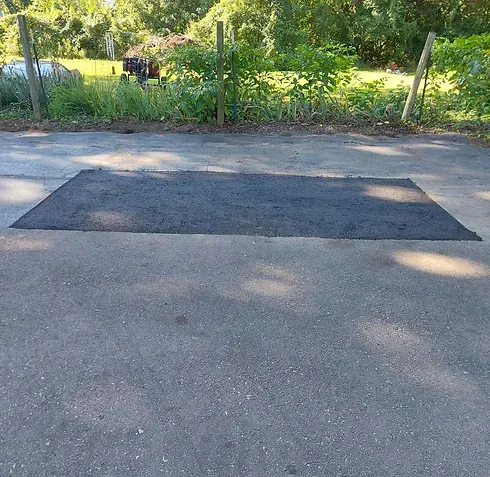
Imagine your parking lot as a shield protecting your business’s first impression. Over time, though, weather, sun, chemicals, and plain old wear-and-tear chew away at the surface. That’s where parking lot sealcoating struts in.
At its core, sealcoating is the process of applying a protective layer (usually a coal tar or asphalt-based emulsion) over asphalt pavement. This layer acts like sunscreen and raincoat combined, defending against UV rays, water, oil, and even salt. It’s a little like waxing your car—sure, it looks great, but it also keeps the bad stuff out and the good vibes in.
Why Bother With Parking Lot Sealcoating?
Let’s face it: No one wants to drive or walk across a cracked, faded, pothole-riddled lot. But there’s more to it than just looks:
- Protection from the Elements: Sun, snow, rain—Mother Nature’s got tricks up her sleeve, and asphalt hates all of ’em. Sealcoating throws up a shield.
- Slows Down Deterioration: Prevents cracks, potholes, and loose gravel from popping up faster than you can say, “Where’d that come from?”
- Saves Money in the Long Run: Regular sealcoating can double or triple the life of your pavement. Fewer repairs, less hassle, more cash in your pocket.
- Boosts Curb Appeal: A freshly sealed lot screams “well-maintained.” Customers and tenants notice.
- Improves Safety: A dark, smooth surface makes line striping pop—no more guesswork about where to park.
- Easier Cleaning: Debris, oil, and gunk come off easier on a sealed surface.
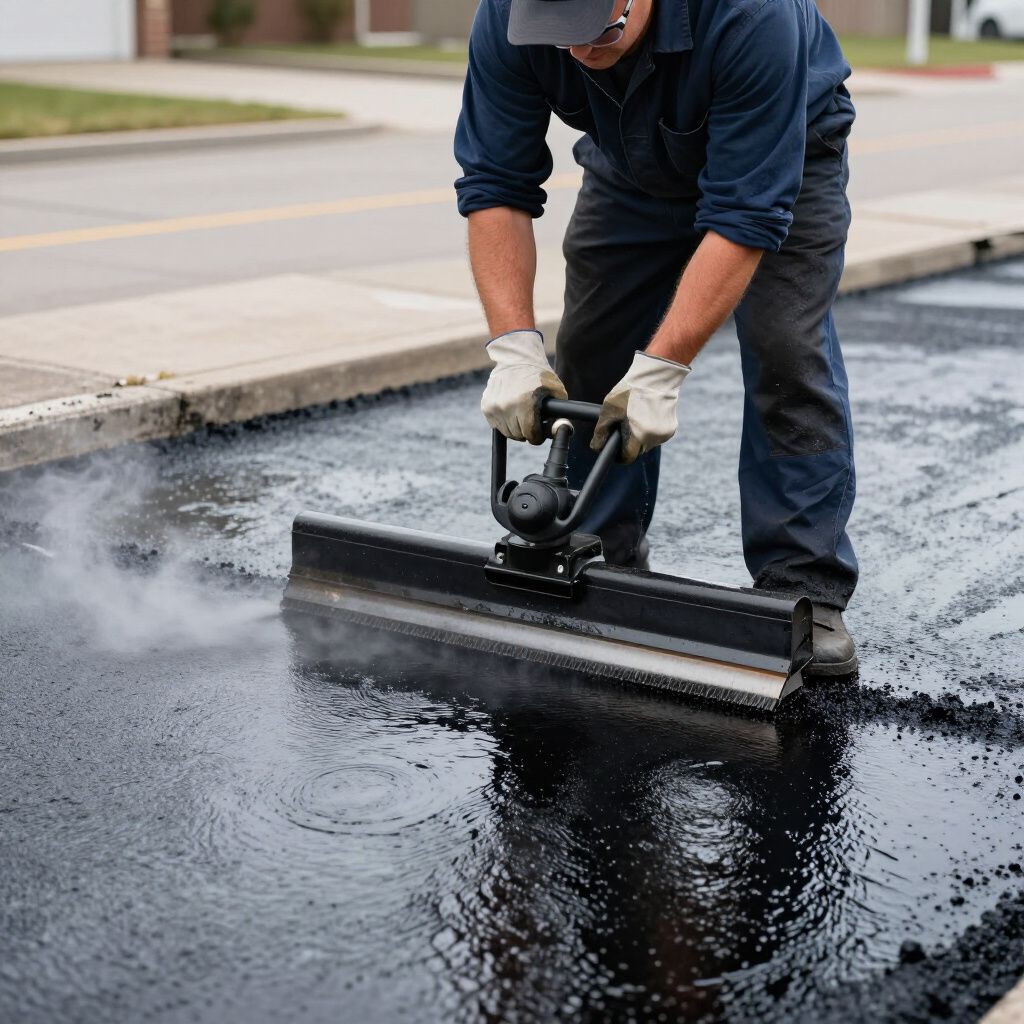
The Parking Lot Sealcoating Process: Step-by-Step
So how’s the magic made? Here’s the lowdown:
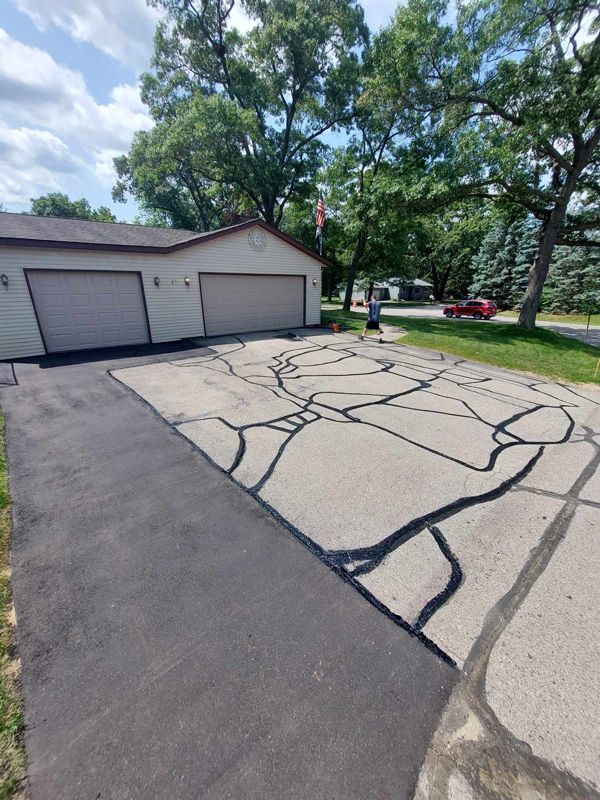
- Inspection & Prep:
- Sweep and clear the lot (leaf blowers, brooms, industrial sweepers).
- Tackle oil stains with specialty primers.
- Fix cracks and potholes—no sense sealing over problems.
- Edging & Protection:
- Tape off curbs and sidewalks.
- Place barriers and cones—keep out unwanted foot and tire traffic.
- Mixing & Application:
- Stir up the sealcoat emulsion for even consistency.
- Apply with squeegees, brushes, or spray rigs (the tool depends on the size and layout).
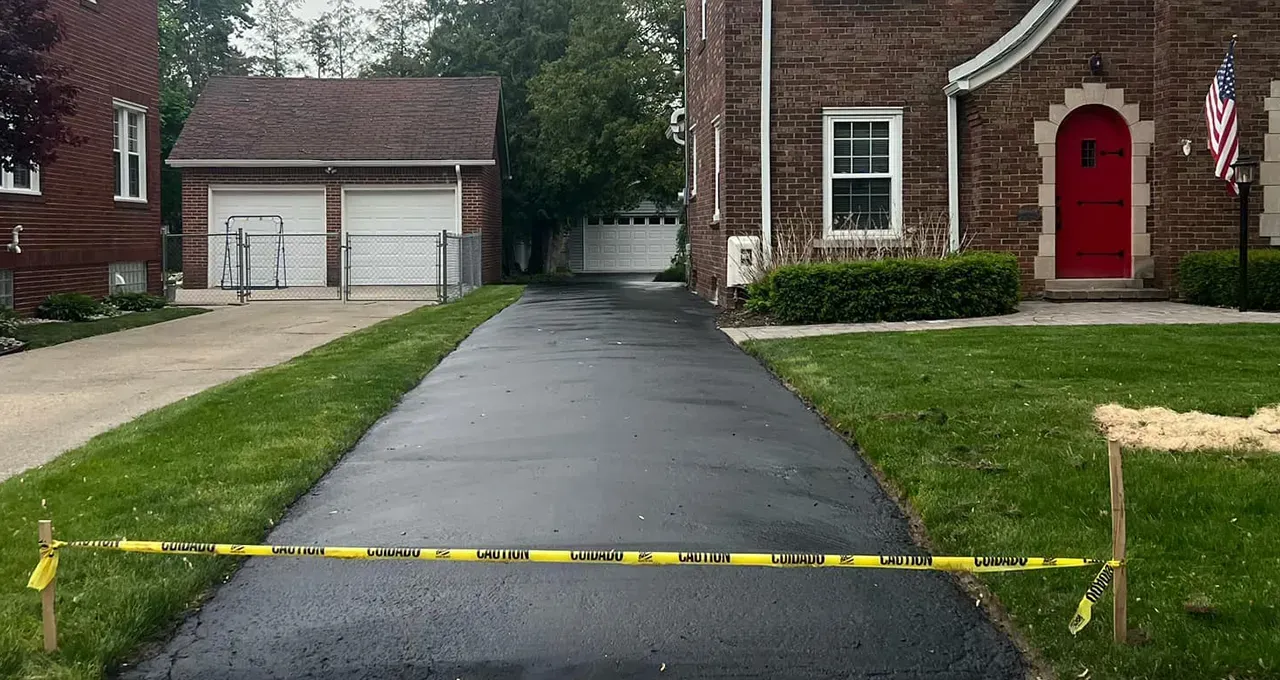
- Drying Time:
- Let it cure—usually 24-48 hours, weather permitting. (Pro tip: Heat and humidity matter!)
- Striping & Marking:
- Once dry, re-stripe lines, arrows, and signage for safety and compliance.
- Final Inspection:
- Walk and check for missed spots or touch-up needs.
Pro tip: Don’t rush the process. Cutting corners here is like painting over rust—problems will come back to haunt you.
How Often Should You Sealcoat Your Parking Lot?
Think of it like changing your oil: wait too long, and things get ugly fast. Most experts recommend:
- Every 2-3 Years: For most parking lots with moderate use.
- Heavy Traffic? You might want to sealcoat every 1-2 years.
- Brand-new Asphalt? Wait 6-12 months before the first application—let it cure and settle first.
Parking Lot Sealcoating: Common Mistakes to Avoid
Everyone loves a shortcut—until it backfires. Here’s where folks trip up:
- Skipping Repairs: Don’t seal over cracks or potholes—fix first, seal second!
- Bad Timing: Don’t try to sealcoat in cold or wet conditions. The emulsion needs warmth to cure.
- Cheap Materials: Going bargain-basement on sealer almost always ends in disappointment.
- Ignoring Prep Work: A dirty, oily surface won’t let the sealer stick. Clean, clean, clean!
- Opening Too Soon: Let it cure. Premature traffic can ruin the finish and waste your investment.
What’s the Difference? Sealcoating vs. Resurfacing vs. Repaving
Parking lot maintenance can sound like alphabet soup. Let’s clear the air:
- Sealcoating:
- Surface treatment for protection and appearance.
- Doesn’t fix major structural issues.
- Resurfacing:
- Lays new asphalt over the old one (after milling off the top layer).
- Great for moderately damaged lots.
- Repaving:
- Full removal and replacement of the existing asphalt.
- Needed when the base or foundation is shot.
Bottom line: Sealcoating is maintenance. Resurfacing and repaving are rehab jobs.
Benefits of Professional Parking Lot Sealcoating
Sure, you can buy buckets of sealer at the home store and DIY, but here’s why pros make all the difference:
- Advanced Equipment: Commercial spray rigs and squeegees deliver a smoother, more even coat.
- Premium Materials: Contractors use higher-grade sealers—more durable, longer-lasting, better coverage.
- Speed & Safety: Pros get in, get out, and minimize disruption. They know how to block traffic, work around weather, and stripe like artists.
- Warranty & Accountability: If something goes wrong, you’ve got backup.
Parking Lot Sealcoating: Cost Factors
So, what’s the price tag? It depends:
- Square Footage: Bigger lots = more material, more labor.
- Condition of Asphalt: Cracks and potholes mean extra prep.
- Number of Coats: Some jobs need two layers for best results.
- Layout Complexity: Lots of islands, curves, or tight spots? That’s extra time and materials.
- Geographic Location: Material and labor costs can vary by region and season.
Typical ballpark: Expect anywhere from $0.15 to $0.30 per square foot, or more for specialty jobs. Always get a detailed estimate!
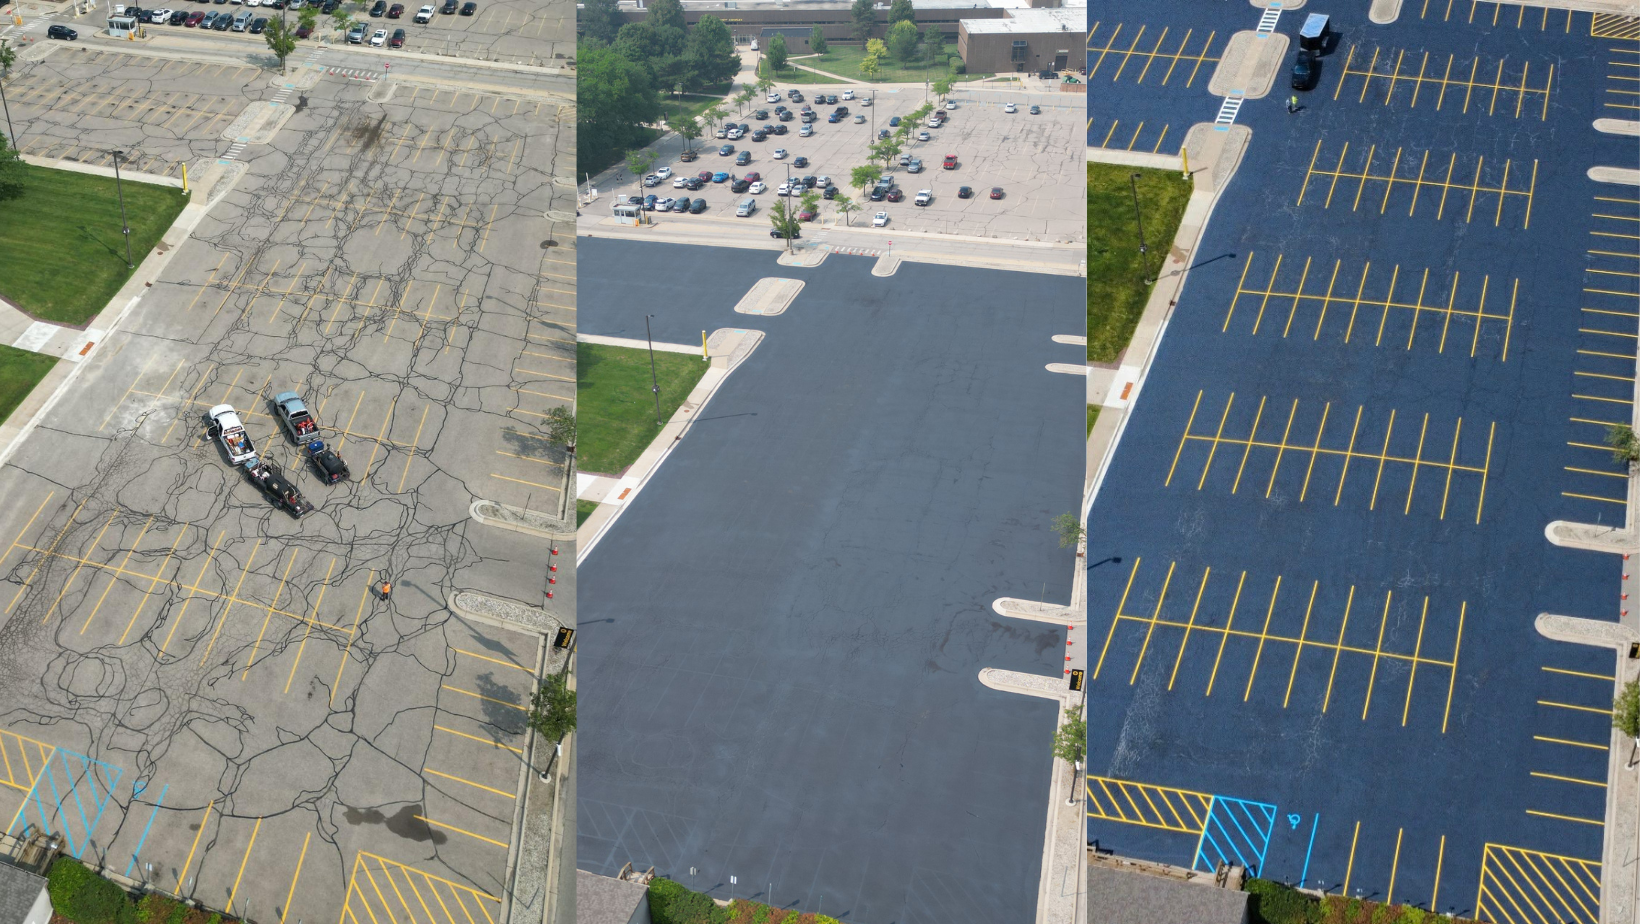
Top 10 Signs Your Parking Lot Needs Sealcoating
- Faded, gray color (should be deep black)
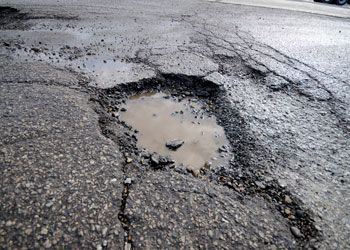
- Noticeable cracks, especially alligator (spiderweb) cracks
- Potholes or loose gravel
- Oil and chemical stains that won’t wash off
- Water pooling in low spots
- Faded or missing stripes/markings
- Rough, uneven texture
- Weeds sprouting through cracks
- Edges crumbling or “raveling”
- It’s been more than 3 years since your last sealcoat
If you’re nodding along to two or more of these, it’s time to call in the cavalry.
Parking Lot Sealcoating: FAQs
Q1: How long does parking lot sealcoating last?
A: With proper prep and materials, you’ll get 2-3 years of protection—sometimes more if the lot isn’t heavily trafficked.
Q2: Can I sealcoat my lot myself?
A: Technically, yes. Practically, it’s a messy, backbreaking job with a steep learning curve. If you want pro results, hire a pro. The finish, durability, and headache factor are all better.
Q3: How soon can people park on a newly sealed lot?
A: Usually after 24-48 hours. Hot, dry weather speeds things up; cool, damp weather slows it down.
Q4: Will sealcoating hide cracks and potholes?
A: Nope. Sealcoating is not a miracle worker. It’ll make the surface look better, but cracks and holes need to be repaired first.
Q5: Is there a best time of year for parking lot sealcoating?
A: Late spring through early fall is ideal. You want warm temps (above 50°F), dry weather, and low humidity for proper curing.
Q6: Does sealcoating make my lot slippery?
A: Not if done correctly. Contractors can add sand or grit for extra traction if needed.
Q7: Is parking lot sealcoating environmentally friendly?
A: Many modern sealers are low-VOC and designed for minimal environmental impact. Ask your contractor for eco-friendly options if this is a concern.
Q8: How do I maintain my lot after sealcoating?
A: Sweep it regularly, tackle stains promptly, and don’t let heavy vehicles sit in one spot for too long. Stay on top of repairs, and keep an eye out for new cracks.
Pro Tips for a Top-Notch Parking Lot Sealcoating Job
- Book Early: Peak season fills up fast—schedule ahead to lock in your spot.
- Double-Check Weather: Don’t let a freak rain shower ruin your fresh seal.
- Mark Your Calendar: Plan to re-seal before your lot starts to look rough. Preventative is always cheaper than reactive.
- Communicate with Tenants/Customers: Post notices, put up cones, and update everyone on closures. A little heads-up goes a long way.
- Go with a Reputable Contractor: Don’t just chase the lowest bid. Look for experience, good reviews, and clear communication.
Parking Lot Sealcoating: Don’t Forget the Details!
It’s easy to focus on the big stuff, but the devil’s in the details:
- Proper Edging: Keep sealer off sidewalks and landscaping.
- Line Striping: Crisp, visible lines keep traffic flowing and everyone safe.
- ADA Compliance: Make sure accessible spots and markings are clear and up to code.
- Regular Inspections: Catch problems early before they become budget-busters.
Conclusion
Parking lot sealcoating isn’t just another maintenance chore—it’s an investment in your property’s value, safety, and first impression. It keeps your lot looking sharp, fends off the forces of nature, saves you money, and sends a message: “We care about our business and our customers.”
The next time you pull into a smooth, jet-black parking lot with crisp stripes and no cracks in sight, you’ll know: someone took the time to do parking lot sealcoating right. And now, so can you.
Roll out the welcome mat—and keep it looking fresh for years to come.